The _draw() Function
The Goal
In this Godot Engine tutorial, we are learning how to use the built-in _draw function to create custom shapes for 2D user interfaces (UI) and games.
What Does the _draw() function do?
extends Node2D

func _draw():
    pass # Custom drawing logic

func _process(_delta):
    queue_redraw() # Queue a redraw every frame
While the Godot Engine has nodes that can create sprites, polygons, particles, text and more...when you need something that those nodes do not provide, you can manually draw on the screen using the built-in _draw commands.
This can be useful when you want to create specific shapes or objects, many objects where creating nodes would be hurt performance, and custom UI controls.
Drawing Script Setup
The _draw function is available in any CanvasItem base class node. This includes all Control nodes and Node2D nodes.
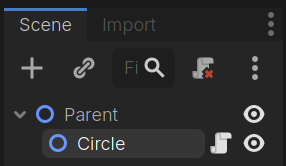
We will create a new 2D scene with a Node2D parent. Next add a new Node2D node as a child and name it Circle.

Add a new script to the Circle node and add the following lines:
extends Node2D

func _draw():
    pass # Custom drawing logic

func _process(_delta):
    queue_redraw() # Queue a redraw every frame
_draw()
The _draw() function is where we will place our custom drawing logic. This is a built-in Godot function and by adding it to our script, we are overwriting the default logic.
queue_redraw()
Within our _process function, we need to manually tell the engine to redraw. The engine then knows to run the _draw function. By calling the queue_redraw function in the _process function, we are telling the engine to draw every frame.
Next we can add our drawing logic to the _draw function to create our circle.
Godot contains a number of built-in drawing functions for a range of purposes:
- draw_animation_slice()
- draw_arc()
- draw_char()
- draw_char_outline()
- draw_circle()
- draw_colored_polygon()
- draw_dashed_line()
- draw_end_animation()
- draw_lcd_texture_rect_region()
- draw_line()
- draw_mesh()
- draw_msdf_texture_rect_region()
- draw_multiline()
- draw_multiline_colors()
- draw_multiline_string()
- draw_multimesh()
- draw_polygon()
- draw_polyline_colors()
- draw_primitive()
- draw_rect()
- draw_set_transform()
- draw_set_transform_matrix()
- draw_string()
- draw_string_outline()
- draw_style_box()
- draw_texture()
- draw_texture_rect()
- draw_texture_rect_region()
We will be using the draw_circle function.
Adding the Circle
In our script, we add the draw_circle function to our _draw function.
func _draw():
    draw_circle()
Within our draw_circle function, we have some parameters that determine properties of our circle:
- position: Vector2
- radius: float
- color: Color
- filled: bool
- width: float
- antialiased: bool
From the list, you can see that we can set the size, color, whether the circle is solid, the width of the perimeter line, and whether we draw it with antialiasing.
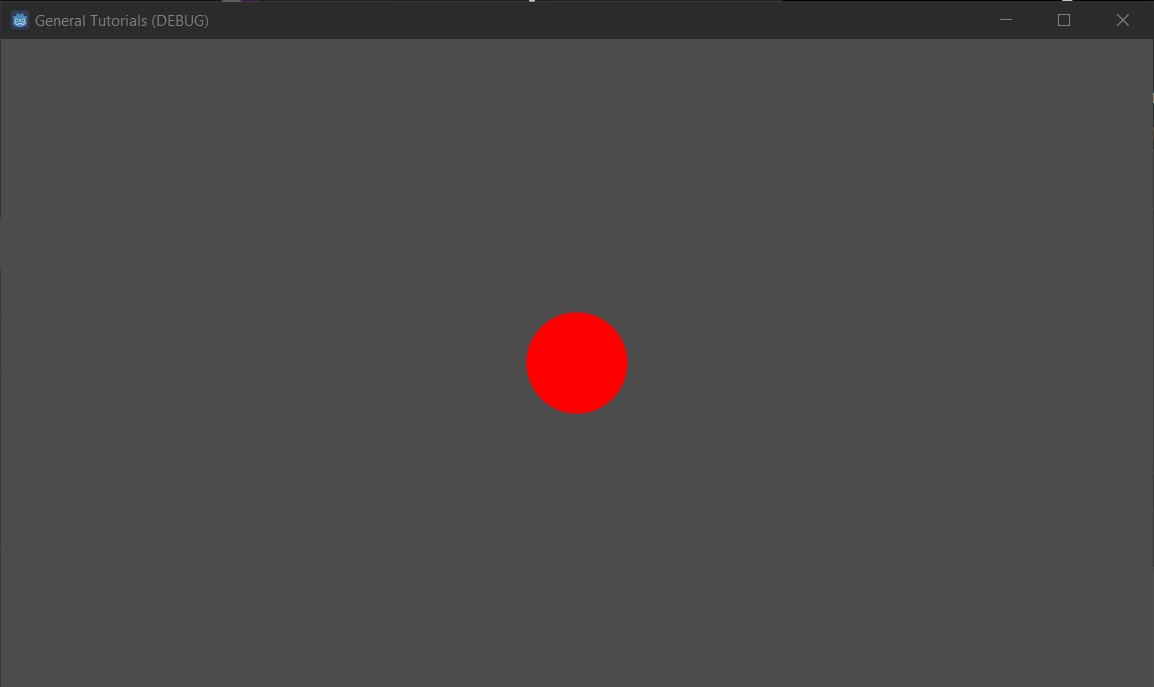
We will create a solid, red circle.
func _draw():
    draw_circle(Vector2.ZERO, 50.0, Color.RED, true, 0.0, true)
We can test this by running our scene and you will see a red circle in the upper left corner of the screen.
Let's move this to the middle of the screen.
extends Node2D

var screen_center: Vector2

const circle_radius: float = 50.0
const circle_color: Color = Color.RED

func _ready():
	get_screen_center()

func get_screen_center():
	screen_center = get_viewport().size / 2

func _draw():
	draw_circle(screen_center, circle_radius, circle_color, true, 0.0, true)

func _process(_delta):
	queue_redraw() # Queue a redraw every framepass

Adding a Line
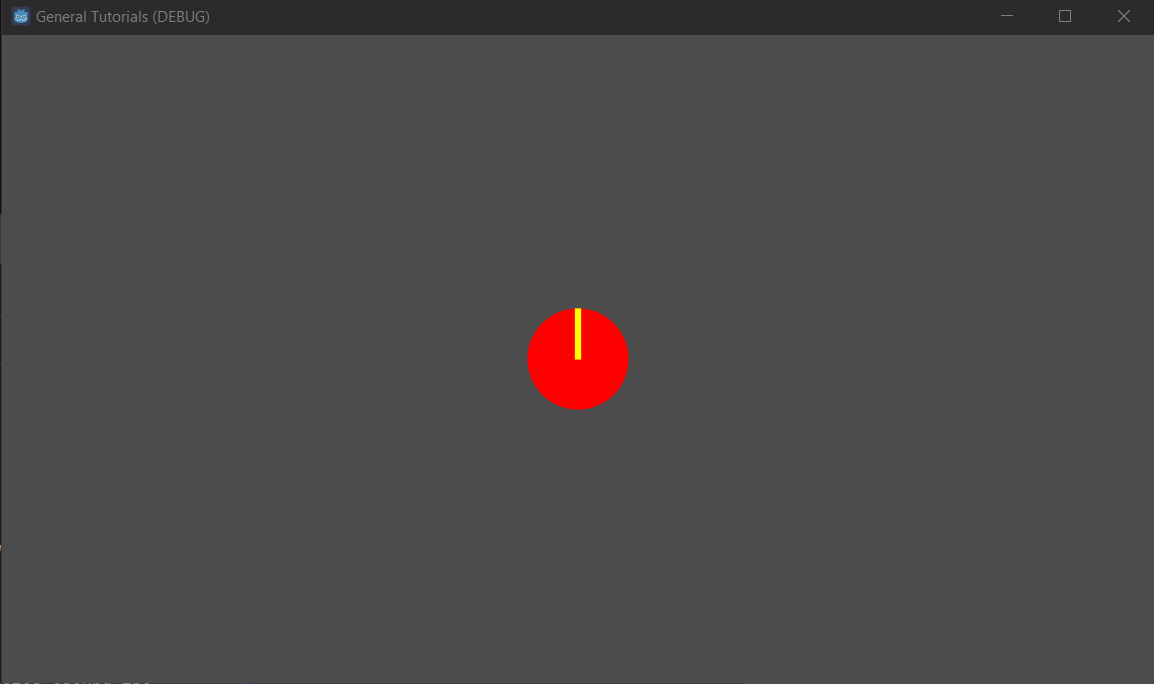
We can add more drawing functions to our _draw function. Let's add a line.
func _draw():
	draw_circle(screen_center, circle_radius, circle_color, true, 0.0, true)
	draw_line(screen_center, screen_center + Vector2(0, 50.0), Color.YELLOW, 5.0, true)

Dynamic Drawing
Because we are drawing every frame, we can alter the properties of our custom drawn shapes to have them dynamically change or animate using only GDScript.
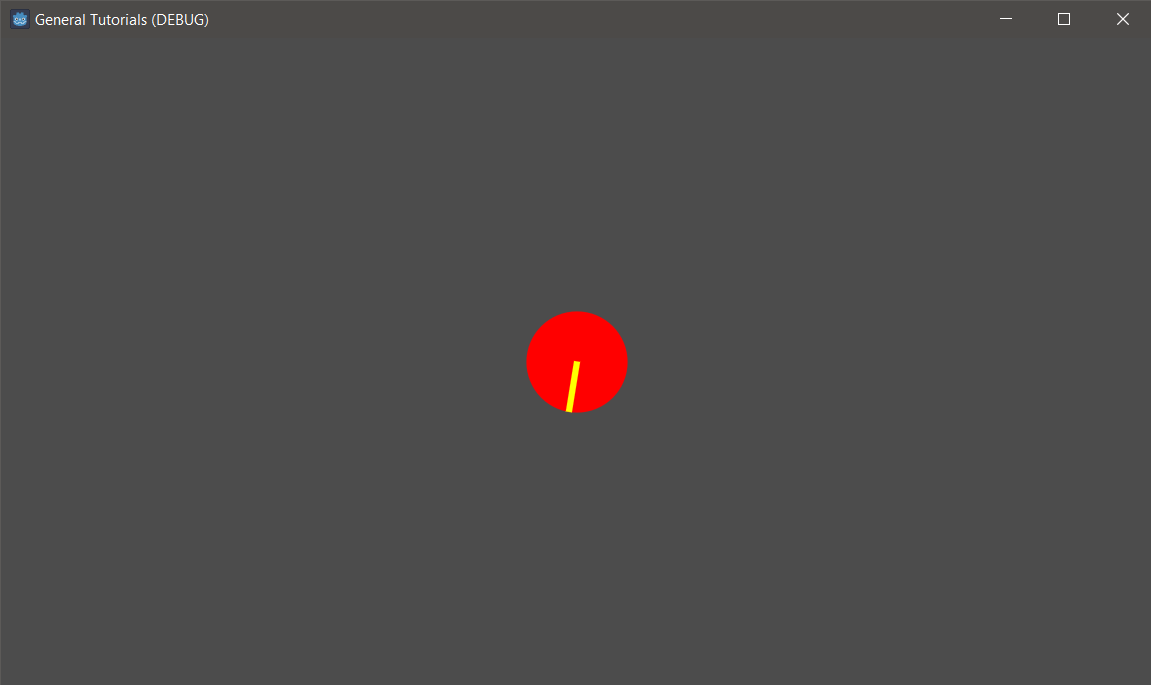
Let's have our line rotate around the circle like the hand of clock.
To do this, we need to adjust the end point of our draw line so that the point rotates around the center of the circle.
extends Node2D

var screen_center: Vector2
var end_point: Vector2 = Vector2(0, -50)
var time = 0.0

const circle_radius: float = 50.0
const circle_color: Color = Color.RED

func _ready():
	get_screen_center()

func get_screen_center():
	screen_center = get_viewport().size / 2

func _draw():
	draw_circle(screen_center, circle_radius, circle_color, true, 0.0, true)
	draw_line(screen_center, screen_center + end_point, Color.YELLOW, 5.0, true)

func _process(delta):
	time += delta
	end_point = circle_radius * Vector2(cos(time),sin(time))
	queue_redraw() # Queue a redraw every framepass

We adjust the end point of the line by multiplying the circle radius with cosine and sine as we create a sum of time using our delta.
Each frame, time increases by our delta, or our time between frames. Then we get the sine and cosine of time to simulate the end point moving around in a circle.
Using a few lines of code, we have created a custom clock graphic that we can easily adjust.
The _draw function allows you to easily create custom shapes and images using only GDScript and without using multiple nodes to construct your graphic.
Anti-aliasing
If you want to draw with anti-aliasing, remember to turn on 2D anti-aliasing in your Project Settings.