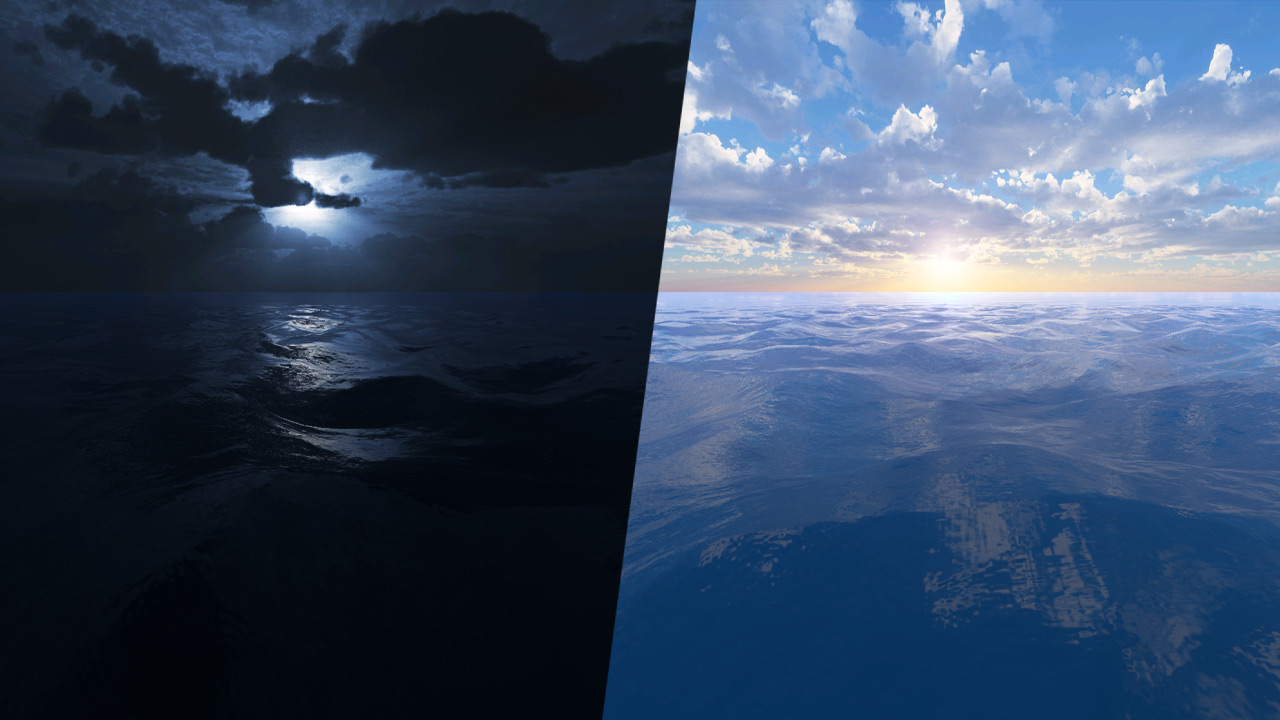
Oceans are big. In this Godot 4 tutorial, we’ll show you how to make infinite ocean that scales with the player. We’ll cover how to spawn instances of our water plane scene, use custom resources to spawn them into a grid, and apply noise displacement to simulate realistic waves, all white making some adjustments to make sure everything is performant.
Full video tutorial is also available via the Youtube channel.
Godot Project Setup
We’ll be starting with some of the assets from the Water Shader Tutorial, so if you need to grab those project files you can do so on that page, if not we’ll recreate what we need here.
First create three folders for our assets:
Resources
Scenes
Shaders
We will need four scenes, create each one with the proper node as the parent:
3Dpawn.tscn -> MeshInstance3D
Ocean.tscn -> Node3D
OceanMap.tscn -> Node3D
WaterPlane.tscn -> MeshInstance3D
Our WaterPlane.tscn will be our building block and will feature a single plane mesh that we will then construct into a grid in Ocean.tscn. That scene will contain our main generation script and will be loaded into the parent OceanMap.tscn which will have our 3Dpawn.tscn and WorldEnvironment.
The first step is to get the base water plane setup so we can start generating our grid.
Water Plane
For our Mesh, we’ll go with a PlaneMesh with the following important settings:
Size: 10.05m x 10.05m
Subdivision: 100 x 100
Then we need our shader, which is being based on our Water Shader Tutorial shader. Create a new shader if you don’t have it called Water.gdshader and place it in the Shaders folder. Then paste the original shader code. You can grab the code down below.
When you save the shader, head to the Shader Parameters of the mesh material and make sure each parameter is refreshed to its coded default.
We need to add one more uniform texture variable and then populate all of the texture noise values. Create an additional wave_bump sampler2D variable that we will use to duplicate our wave noise texture and set it to a bump map to adjust our normal map later on.
uniform sampler2D wave; // Noise wave texture
uniform sampler2D wave_bump; // Normal bump map version of the noise wave texture
uniform sampler2D texture_normal; // Additional normal noise
Then use the following parameter settings for each of the sampler2D parameters:
The Wave Bump texture will use the same settings as the Wave texture except it will have the As Normal Map option set to ON.
Ocean Wave Noise Displacement
The original had a basis displacement setup but we can do better for our ocean. The first thing we can do is setup a function in our shader that we can use multiple times to get height data from our Wave noise. We’ll be setting up two different displacements that will mix together to get a more realistic effect.
Our function waveheight(), placed before our void vertex() function, will take two arguments: a vec2 for offset (which will come in handy later), and an int for a switch that will allow us to use this function for a couple different “modes”.
The function is simple and set three float variables: one for the height value for the first displacement, another for the second height value, then mixed float of the two averaged. The switch function will let us set different circumstances for each “mode” that we set with our integer value.
float waveheight(vec2 offset, int mode) {
	float h1 = 0.0; // Wave1 texture height
	float h2 = 0.0; // Wave2 texture height
	float hmix = 0.0; // Wave texture heights mixed
	switch (mode) {
		case 0: // For getting only the Wave1 height
			h1 = texture(wave, (world_pos.xz + offset) / noise_scale + (TIME * wave_direction) * time_scale).r;
			return h1;
		case 1: // For getting only the Wave2 height
			h2 = texture(wave, (world_pos.xz + offset) / noise_scale + (TIME * wave_direction2) * time_scale).r;
			return h2;
		case 2: // For getting both Wave1 and Wave2 heights and getting the average
			h1 = texture(wave, (world_pos.xz + offset) / noise_scale + (TIME * wave_direction) * time_scale).r;
			h2 = texture(wave, (world_pos.xz + offset) / noise_scale + (TIME * wave_direction2) * time_scale).r;
			hmix = mix(h1, h2, 0.5);
			return hmix;
	}
}
The returns send the value we ask for when we run the function.
We can get this new height value for each vertex in our vertex function.
void vertex() {
	world_pos = (MODEL_MATRIX * vec4(VERTEX, 1.0)).xyz;

	float height_mix = waveheight(vec2(0.0,0.0),2);

	height = texture(wave, world_pos.xz / noise_scale + TIME * time_scale).r;
	VERTEX.y += height_mix * height_scale;
}
We now have both of our displacement maps adjusting the vertices of our mesh.
One problem you might notice is that now we are moving our vertices around, the normals are a bit off…We can fix that by incorporating the same wave displacements into our NORMAL_MAP. This is where our second wave texture, being used as a bump map, comes in.
Head down to the fragment() function and after the vec3 normal_blend line, we can add our new interpolation of the two wave textures, and then interpolate that vector into our normal_blend.
// Blend normal maps into one
vec3 normal_blend = mix(texture(texture_normal,world_pos.xz + time).rgb, texture(texture_normal2,world_pos.xz + time2).rgb, 0.5);

// Blend Wave1 and Wave2 maps
vec3 wave_normal_blend = mix(texture(wave_bump, world_pos.xz / noise_scale + time).xyz,texture(wave_bump, world_pos.xz / noise_scale + time2).xyz,0.3);

// Calculate Fresnel
...
...
ROUGHNESS = roughness;
NORMAL_MAP = mix(wave_normal_blend, normal_blend, 0.5);
We can also set our SPECULAR using our new values.
SPECULAR = wave_normal_blend.r;
We now have our water plane ready to start generating our ocean grid.
Creating the Ocean Grid
First head to the Ocean.tscn. This is where we will create and run a script that will take our WaterPlane.tscn and generate a mesh.
The overall idea for our Infinite Ocean system is a grid-based ocean that will use a highly subdivided plane at the player’s location to bring the most detail. The next outer ring will use reduced subdivided meshes to bring some detail but less to increase performance and a final outer ring that will have no subdivision because it will not use any displacement at all.
Then, because we are using world position to align our displacement and normal maps, we can actually move the entire system WITH the player so they always remain at the center. The planes will continue to sample from our noise textures via world position, therefore loading the noise as we move as if we had a grid of 100s of planes.
So instead of using a ton of planes that load and unload as the player moves, because water is essentially flat (unlike terrain), we can simply move our ocean system with the player and achieve the same effect with only 17 planes.
Custom Resource
To get started we are going to create what is called a Custom Resource. You may already know about Resrouces and how they make up all the sprites, textures, meshes, etc that we use in Godot. You can also create your own resource and use that to set custom data that we can reference in other scripts.
To create a custom resource:
- go to the Filesystem tab and right-click on the Resources folder we created and click New Resource.
- Select Resource as the type and click Create.
- Name it GridSpawnInfo and save it in the Resources folder.
Then we’ll need to attach a script to our Custom Resource:
- Click on the GridSpawnInfo.tres file and go to the Inspector tab
- Create a new GDScript and save it as GridSpawnInfo.gd
You can now open our new script and add the following code:
extends Resource

@export var spawnPoints : Array[Vector2] = [];
@export var subdivision : Array[int] = [];
@export var scale : Array[int] = [];
We’ve just setup three export variables that we can edit: an array of spawn coordinates, an array of subdivision values, and an array of scale values.
You can now click on our Custom Resource GridSpawnInfo.tres and edit the values in the Inspector.
The grid is essentially divided into 3 sections:
- 1 High Detail Plane
- 8 Medium Detail Planes
- 8 Low Detail Planes
It is a bit of a pain to enter in the data but you can use the table below as a reference.
| Array Index | Spawn Point (Vector2) | Subdivision (Int) | Scale (Int) |
| 0 | 0,0 | 199 | 1 |
| 1 | -1,-1 | 99 | 1 |
| 2 | -1,0 | 99 | 1 |
| 3 | -1,1 | 99 | 1 |
| 4 | 0,1 | 99 | 1 |
| 5 | 1,1 | 99 | 1 |
| 6 | 1,0 | 99 | 1 |
| 7 | 1,-1 | 99 | 1 |
| 8 | 0,-1 | 99 | 1 |
| 9 | -3,-3 | 0 | 3 |
| 10 | -3,0 | 0 | 3 |
| 11 | -3,3 | 0 | 3 |
| 12 | 0,3 | 0 | 3 |
| 13 | 3,3 | 0 | 3 |
| 14 | 3,0 | 0 | 3 |
| 15 | 3,-3 | 0 | 3 |
| 16 | 0,-3 | 0 | 3 |
Now that we have our grid spawn info setup, we can get to coding our ocean generation system.
Ocean.gd
Go to the Ocean.tscn and create a new script for our Ocean node.
Before we get into it, we want to add one line of code at the top:
@tool

extends Node3D
@tool allows us to run the script within the editor. Because we are going to generate and spawn instances of our water plane, it would be nice to see what we’re doing right? Adding @tool tells the engine to run the script in the editor.
Next we need to preload our water plane scene and the Custom Resource we just created.
extends Node3D

# Get waterplane and preset grid spawn info
var OceanTile = preload("res://Scenes/WaterPlane.tscn");
var spawnPoint = preload("res://Resources/GridSpawnInfo.tres");
Then we need to create a function that will take our GridSpawnInfo data and spawn 17 instances of our water plane to create our grid.
var spawnPoint = preload("res://Resources/GridSpawnInfo.tres");

# Creates tile grid for infinite ocean
func createOceanTiles():
	for i in 17: # Loop through 17 tiles

		# Get loction, subdivision, and scale of each tile and create instance
		var spawnLocation = spawnPoint.spawnPoints[i];
		var tileSubdivision = spawnPoint.subdivision[i];
		var tileScale = spawnPoint.scale[i];
		var instance = OceanTile.instantiate();

		add_child(instance);

		# Set tile position, subdivision, and scale
		instance.position = Vector3(spawnLocation.x,0.0,spawnLocation.y) * 10.05; # Multiply by mesh width 10.5m
		instance.mesh.set_subdivide_width(tileSubdivision);
		instance.mesh.set_subdivide_depth(tileSubdivision);
		instance.set_scale(Vector3(tileScale, 1.0, tileScale)); # Ignore Y value because of planes

func _ready():
Then add our new function into the _ready() function.
func _ready():
	createOceanTiles();
Then add the Ocean.tscn to the OceanMap.tscn.
Now if you go to the 3D tab and save the WaterPlane, Ocean, and OceanMap scene, you should see your new ocean grid loading in the editor.
Unfortunately, our subdivision assignment doesn’t seem to be holding up. The problem is that because we are instancing our planes, they can only have one setting for the subdivision shared between all the planes. We can fix this by going to our WaterPlane.tscn and our MeshInstance3D tab and finding the Resource dropdown. Then set Local to Scene to ON. This will make each instance retain its own values.
Then resave the Ocean.tscn to re-run our script and you should see a much better grid in OceanMap.
Make It Pretty
Let’s make our ocean scene a bit better by adding a WorldEnvironment and DirectionalLight. For our environment we want to use a Panoramic sky and use the sky for our Background, Ambient Light, and Reflected Light.
Now let’s increase the size a bit and select our Ocean node and set the scale to (6,1,6).
With our new scale, we need to slightly adjust our normal maps.
In our water.gdshader code, swap out the normal_blend variable with our adjusted code:
vec3 normal_blend = mix(texture(texture_normal,world_pos.xz + time).rgb, texture(texture_normal2,world_pos.xz + time2).rgb, 0.5);vec3 normal_blend = mix(texture(texture_normal,world_pos.xz / 10.0 + time / 10.0).rgb, texture(texture_normal2,world_pos.xz / 10.0 + time2 / 10.0).rgb, 0.5);
Fixing Vertex Issues
Now we have two issues with our displacement:
- There are very noticeable seams between the different tile levels because the subdivision is different
- The final tile level shouldn’t have any displacement because we aren’t subdividing it
We can fix both of these issues in the vertex function of our shader. First we need to gradually decrease the amount of height change the further the vertices are from the camera and player. Detail gets lost the further things are from the camera and we’re just wasting geometric complexity. We can do this by finding the distance a vertex is from a position (the player position) and then reduce the value the further we get based on a distance value we set.
In the Water.gdshader we will add three more varying variables:
varying float vertex_distance;
varying float vertex_distance_clamped;
varying vec2 vertex_pos;
Then in our vertex() function, we find the distance for each VERTEX in world position to our center. Clamp that value to our max distance, and then divide that value again by the max distance.
world_pos = (MODEL_MATRIX * vec4(VERTEX, 1.0)).xyz;

vertex_distance = distance(world_pos, vec3(0.0);
vertex_distance = clamp(vertex_distance, 0.0, 85.0);
vertex_distance_clamped = vertex_distance / 85.0;
We can then multiply our height value from before by (1 – vertex_distance_clamped). 1 minus will reverse the value so they gradually get smaller the further away they are.
VERTEX.y += height_mix * height_scale * (1.0 - vertex_distance_clamped);
You should now have a nice gradually decrease in height from the center of the ocean.
But we still have seams showing between our center and second level tiles.
To fix this problem, we need to adjust the vertices that are misaligned to get rid of the seam. The settings chosen for the subdivision as well as the size of the water plane mesh were on purpose so we could fix this issue.
Our center and second level tiles are at a 2:1 ratio, meaning that for every two vertices on the edge of the second level tile, there are three vertices on the edge of the center mesh. The end vertices match but the middle vertex is where our seam is coming from. We need to isolate those middle vertices and find the heights of the vertices on either side, then average them to match up with the edge of the second level.
Our waveheight function from before will come back into play.
Head to the vertex function of our shader and add the following float variables that will use the waveheight function to find the previous x and y heights around a vertex.
float prev_height_x = waveheight(vec2(-0.3,0.0),2);
float next_height_x = waveheight(vec2(0.3,0.0),2);
float prev_height_y = waveheight(vec2(0.0,-0.3),2);
float next_height_y = waveheight(vec2(0.0,0.3),2);
Remember how we add an offset argument? We can use that to offset the current vertex to the next vertex, which, because of our subdivision of 199 and our size of 10.5m is always going to be 0.3m away.
Now we need to isolate the middle vertices of the edge of the center mesh.
To do this, we will use the UV variable that will give us a value between 0 and 1 on our plane mesh.
Because our center plane has 199 subdivisions, we end up with 201 vertices on each edge. Dividing this number into 1 gives us a long decimal that is close to 0.0049.
So our first vertex will equal 0 on the UV map and the second will equal almost 0.005. If multiply the UV position by 1000 to then round our value, we will get a value that is divisible by 10 for our odd vertices and a remainder of 0.5 for our even vertices.
We then use fract() to isolate our value remainder, giving us 0 or 0.5. Now we can differentiate between the vertices.
VERTEX.y += height_mix * height_scale * (1.0 - vertex_distance_clamped);

float fraction_x = fract(round(UV.x * 1000.0) / 10.0);
float fraction_y = fract(round(UV.y * 1000.0) / 10.0);
Now we’re gonna break a sort of unspoken rule by using an if statement in our shader. My only argument here is that this is NOT running for every pixel but just the vertices. AND we could have it run only on the center mesh if we needed to. I think the performance issue is negligible at worst.
float fraction_y = fract(round(UV.y * 1000.0) / 10.0);
if (fraction_x != 0.0) {
	if (fract(UV.y) == 0.0) {
		VERTEX.y = ((prev_height_x + next_height_x) * height_scale * (1.0 - vertex_distance_clamped)) / 2.0;
	}
}
if (fraction_y != 0.0) {
	if (fract(UV.x) == 0.0) {
		VERTEX.y = ((prev_height_y + next_height_y) * height_scale * (1.0 - vertex_distance_clamped)) / 2.0;
	}
}
By checking whether the vertex has a fraction remainder we can get our odd vertices, then we check if they fall on the edge of our mesh if the fract() remainder of the other axis is 0.0.
With our vertices isolated, we adjust the VERTEX.y position to equal the adjacent vertices averaged.
And no more seams!
Making It Infinite
With our ocean system in place…we just need to make it infinite…no big deal.
Simply update the position of the Ocean node to equal the position of your player, camera, whatever every frame.
Then we can use that value to update what is called a Global Shader Parameter. This will make it easy to update our shader variable we need and have it update for every mesh using the shader.
First create a Global Shader Parameter by going to Project ->Project Settings -> Shader Globals. Then add a parameter called ocean_pos with a vec3 type.
Then head back to our Ocean script and add the following line to the func _process():
func _process(delta):
	RenderingServer.global_shader_parameter_set("ocean_pos", self.position); # Update global shader parameter 'ocean_pos' to match the ocean node position
This will update our parameter with the ocean node position every frame.
Now we need to reference the global shader in our water shader.
Add a global uniform variable at the top of the shader:
global uniform vec3 ocean_pos; // Global shader value for the player position
Then replace the vector used as the center for our vertex_distance variable:
world_pos = (MODEL_MATRIX * vec4(VERTEX, 1.0)).xyz;

vertex_distance = distance(world_pos, ocean_pos);
vertex_distance = clamp(vertex_distance, 0.0, 85.0);
vertex_distance_clamped = vertex_distance / 85.0;
This will now update the “center” of the ocean system to match the player position.